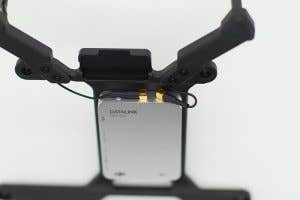
This photo tutorial is a step-by-step instruction guide to getting your Matrice 210 RTK up to full functioning order. DJI shipped its first RTK units without the necessary ground station units, but now that they are shipping many of our clients have asked for a setup guide to install and use the ground station and datalink.
Please note that all images are clickable, and clicking on an image will open a larger image in a new tab if more details are necessary.
D-RTK and Datalink Pro Ground System Setup
-
Install the TB50 battery and rotate clamp to secure it (Ensure battery is charged to >50%)
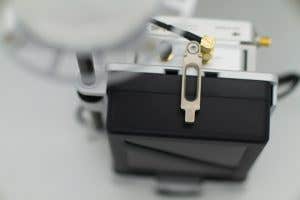
-
Install Datalink Antenna
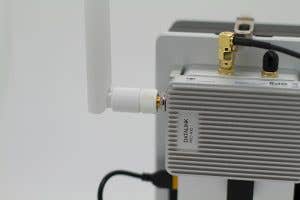
- Download DJI Assistant for Datalink Pro (V 1.1.7) (https://www.dji.com/datalink-pro/info)
-
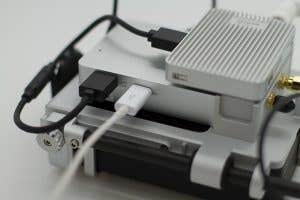
Launch DJI Assistant and plug-in D-RTK Ground Station to computer for activation and updates
-
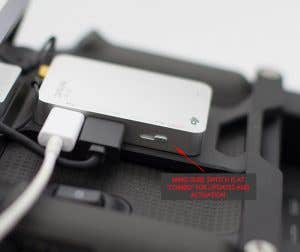
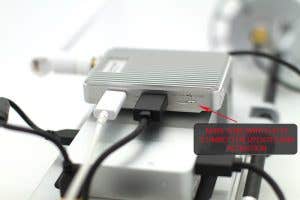
Connect Datalink Pro Ground Station to computer and toggle 4-position switch to the COMBO position to activate and update
Datalink Pro Air System Setup (Remote Controller)
-
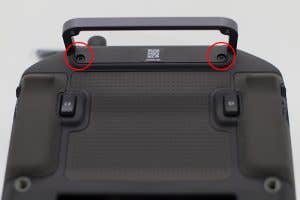
Remove the two screws from the back top of the Cendence Remote Controller
-
Attach the Datalink Pro Air System onto the mounting bracket with the double-sided adhesive
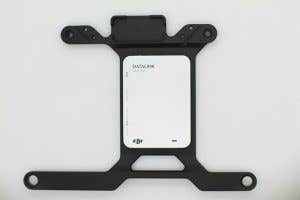
- Place the mounting bracket onto the back of the remote controller (do not screw in yet)
-
Screw the antenna clips onto the antenna mounts
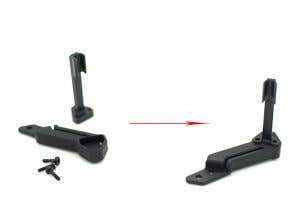
- Place the Datalink Pro antennas in the clips and thread the wires through the grooves on the antenna mounts to avoid damaging the wires
-
Attach the antenna mounts to the Datalink Pro Air System mounting bracket
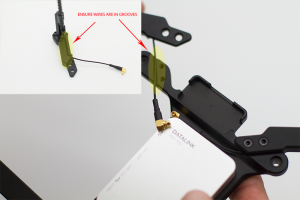
-
Attach the CAN Hub module to the top of the Datalink Pro Air System mounting bracket with the port facing up using an adhesive strip
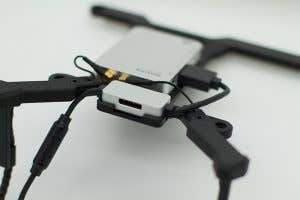
-
Secure Datalink Pro Air System mounting bracket to back of remote controller
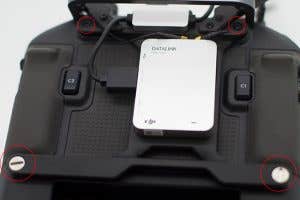
- Launch DJI Assistant and connect Datalink Pro Air System to computer and toggle 4-position switch to the COMBO position to activate and update
D-RTK Air System Setup (Matrice 210)
- Download the DJI Assistant 2 software for the Matrice 200 Series
- Launch DJI Assistant 2 and connect the aircraft to the computer and power on
-
Toggle the USB Mode switch located on the top rear of the aircraft underneath the port cover to the RTK position to activate and update
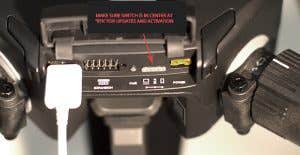
Using the D-RTK System
- Attach Ground System to an appropriate tripod (*info on what kind of threading/mount is required so customers can purchase online or check if existing tripod will work*)
- Extend the Ground D-RTK antenna mast to the highest position and secure it
-
Power on Ground System and wait for the working LED status light to turn solid green
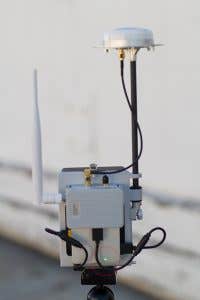
-
Toggle the 4-position switch on the Datalink Pro Ground Station to the UART position
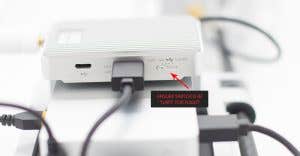
-
Power on the remote controller and toggle the 4-position switch on the Datalink Pro Air System to the CAN position
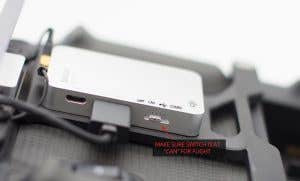
- Power on the Matrice 210-RTK and wait until the LEDs on the aircraft flash green and blue alternately
- In the DJI Go or DJI Pilot app tap the satellite icon to bring up the RTK Satellite menu
- Ensure that both the Air and Ground Systems have displayed Coordinates
- Check surrounding area, and if safe, take off


